
guide to setting up Simple Voice Chat
simple voice chat is a mod for Minecraft with voice communication.
the main feature is proximity chat: the volume depends on the distance, the sound is muffled by the walls, goes around the corner
this guide is how to install and configure this plugin on the server.
1. installing the plugin
installed either manually or through the panel.
go to the server control panel → section "plugins".
There we select the kernel version and plugin source (modrinth by default).
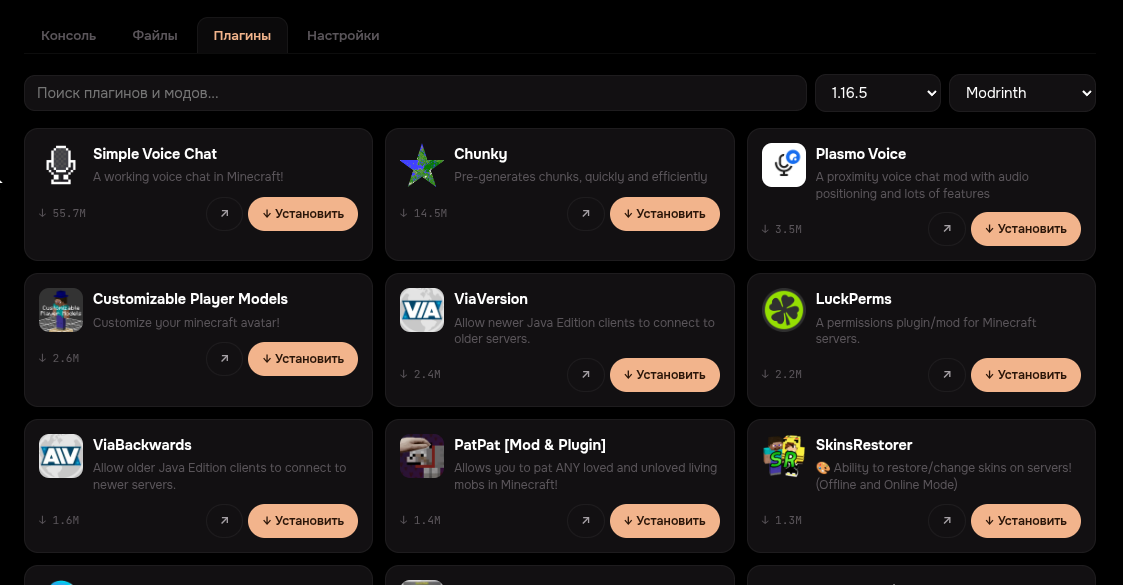
find simple voice chat, click the install icon.
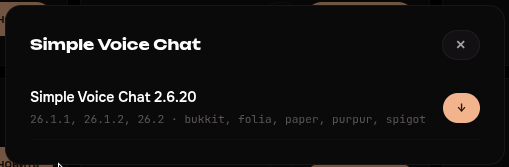
ready, the plugin is installed. now setup.
2. setup
buy additional port in the server settings.
after receiving it, click “online” next to the allocation,
activate the tcp and udp checkboxes.
timeout is set to 10 seconds,
udp replies - 1000.
we start the server, wait for it to fully load (so that the plugin is initialized).
after that we turn off the server.
go to the "files" section → plugins/voicechat/ folder.
open the file voicechat-server.properties.
edit:
port=just_purchased_port
bind-address=*
next line mtu_size - change from 1275 to 1175.
and the last one - voice_host=:
put the IP:port of the voice chat there (the port can be viewed in the server settings).
example:
voice_host=64.188.70.246:25575
save the file and restart the server.
Voice should work for everyone.
if it doesn’t work, check that the udp port is open and the voice_host= address is specified correctly in the config.
if the problem persists, click the “view config” button in the allocation block (ports), copy the contents and write to telegram @entitybtw, attach the config and describe the problem.